How to create stunning wine cork frames: Upcycle 60% of your corks!
How to create stunning wine cork frames: Upcycle 60% of your corks!
Wine corks are often discarded after enjoying a good bottle of wine, but they can be transformed into beautiful and functional pieces of art. Creating wine cork frames not only allows you to showcase your favorite memories but also helps reduce waste. In this article, we will guide you through the process of upcycling approximately 60% of your cork collection into stunning frames that can complement any decor.
Gathering Your Materials
Before diving into your wine cork frame project, its essential to gather all the necessary materials. Here’s a list of what you’ll need:
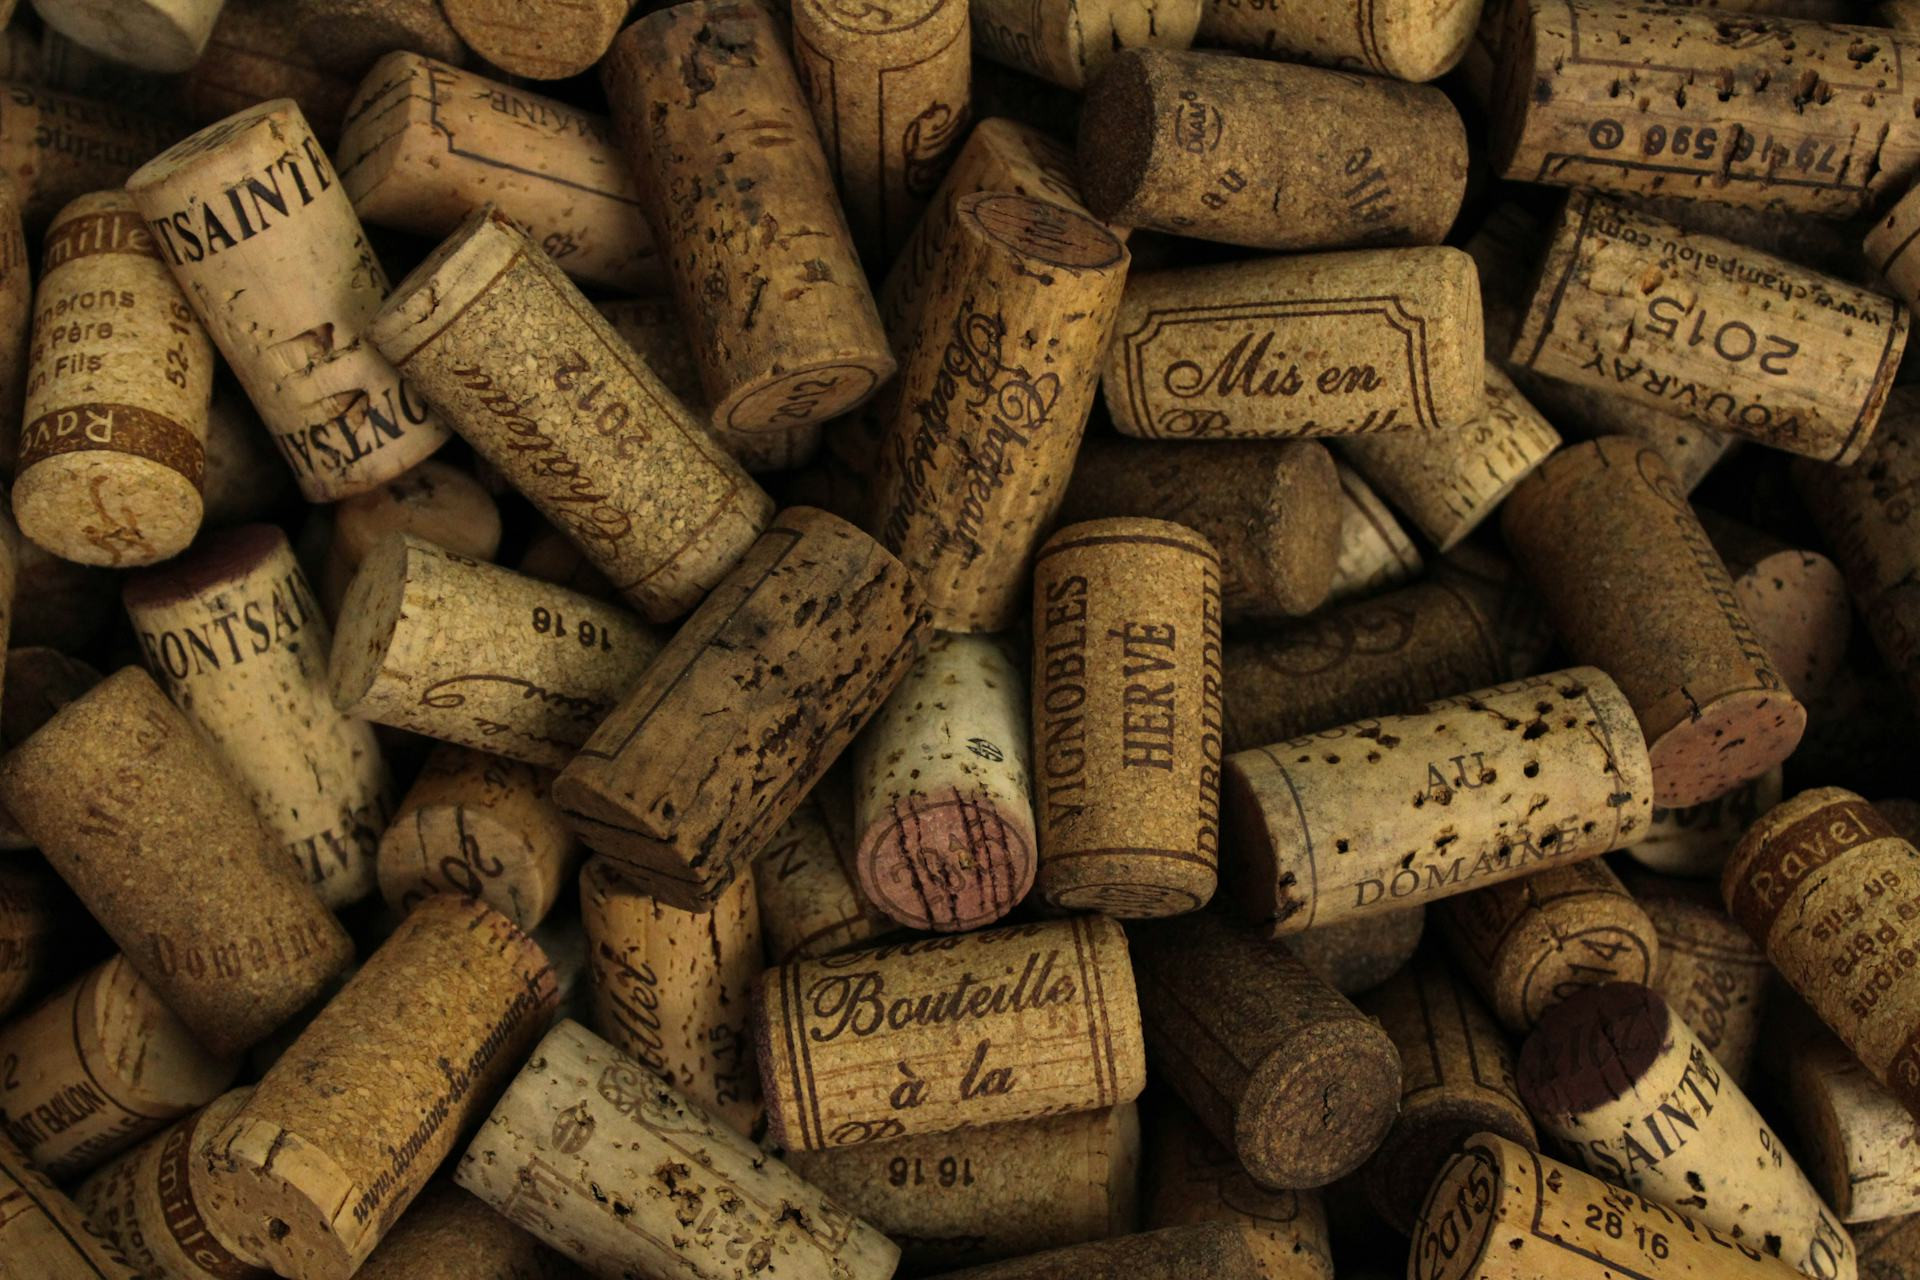
- Wine corks (approximately 60 or more)
- Picture frame (wooden or plastic)
- Hot glue gun and glue sticks
- Utility knife (optional)
- Sandpaper (optional)
- Scissors
- Decorative embellishments (e.g., twine, paint, or stickers)
Once you have your materials, you’ll be well on your way to creating a unique and personalized frame!
Preparing the Corks
The first step in crafting your wine cork frame is preparing your corks. Start by cleaning them to remove any residual wine or dirt. You can wash them with warm, soapy water and let them dry completely. Next, check the corks for any damage or large cracks, as these may not look great on your frame.
If you want to add more variety to your design, consider cutting some corks in half or creating different shapes using a utility knife. Ensure you are cautious while using the knife and cut away from your body for safety. Sand down any rough edges if necessary.
Choosing the Right Frame
Selecting a frame for your cork project is crucial. A simple wooden or plastic frame works well. You can choose a standard size or go for a custom frame based on your needs. If your frame has a glass cover, consider removing it, as the corks will be glued directly to the frame backing.
Keep in mind that the frames color and style should complement the corks. A natural wood finish can give a rustic feel, while a sleek black or white frame might provide a modern touch.
Arranging the Corks
Before gluing the corks onto the frame, consider laying them out first to determine the design that you want. You can arrange them in rows, create a mosaic effect, or even make a fun shape like a heart or star. Experiment with different layouts until you find one you love.
Once you’re satisfied with the arrangement, take a photo to refer to while gluing. This step is important as it helps ensure consistency and saves time during the gluing process.
Gluing the Corks
Now comes the fun part—gluing the corks! Take your hot glue gun and apply a generous amount of glue to the back of each cork before firmly pressing it onto your frame. Be careful not to use too much glue, as it can ooze out and create a mess.
Continue gluing corks in place following your arranged layout. You can use a combination of whole and cut corks to add depth and dimension to your design. Play with the orientation of the corks—some can be upright while others are laid flat.
Adding Finishing Touches
After all your corks are glued down and the glue has dried, it’s time to add some finishing touches to your frame. You can leave it as is for a rustic look, or you can paint or stain the wood to enhance its appearance.
For a personalized touch, consider adding embellishments. Twine can be wrapped around the frame, or you can attach small decorations like stickers or charms that reflect your personality.
If you want to hang the frame, make sure to securely attach hanging hardware at the back. Otherwise, you can place your frame on a shelf or mantle to display it.
Showcasing Your Frame
Your newly created wine cork frame is ready to showcase your favorite photos or artwork! Choose images that resonate with you, whether its snapshots from wine tastings or memorable moments shared with family and friends. The versatility of these frames means they can easily enhance any room in your home.
Creating wine cork frames is not only a fun craft project but also a creative way to upcycle items that would likely be tossed away. Enjoy the process, and let your creativity flow!